Here is an idea of how to approach your first week in Parle. The goal is not to configure everything at once, but to discover the key concepts one at a time so that everything makes sense.
Day 1: Activate your first modules
The first thing to understand about a freshly created Parle app: it is completely empty. An app without modules has no functionality. This is intentional – you pay only for what you use.
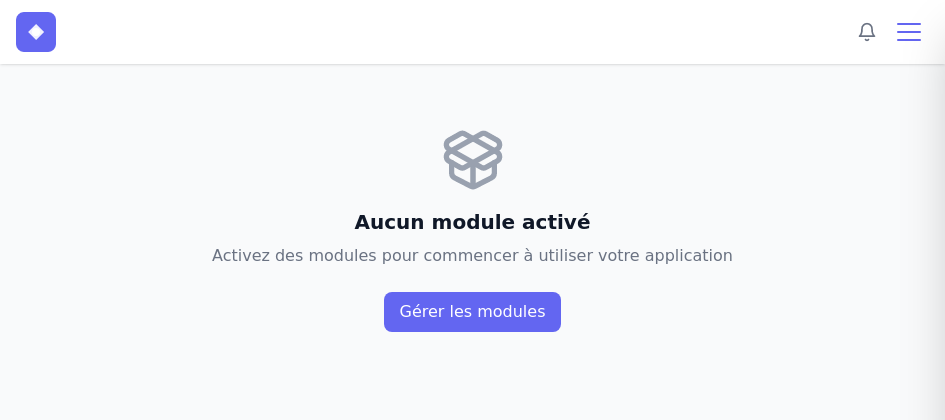
Go to the Modules section in the menu. If your app is still empty, Parle will tell you and offer a button to browse available modules. Each module has a monthly cost, with the exception of the CRM module which is free but not activated by default.
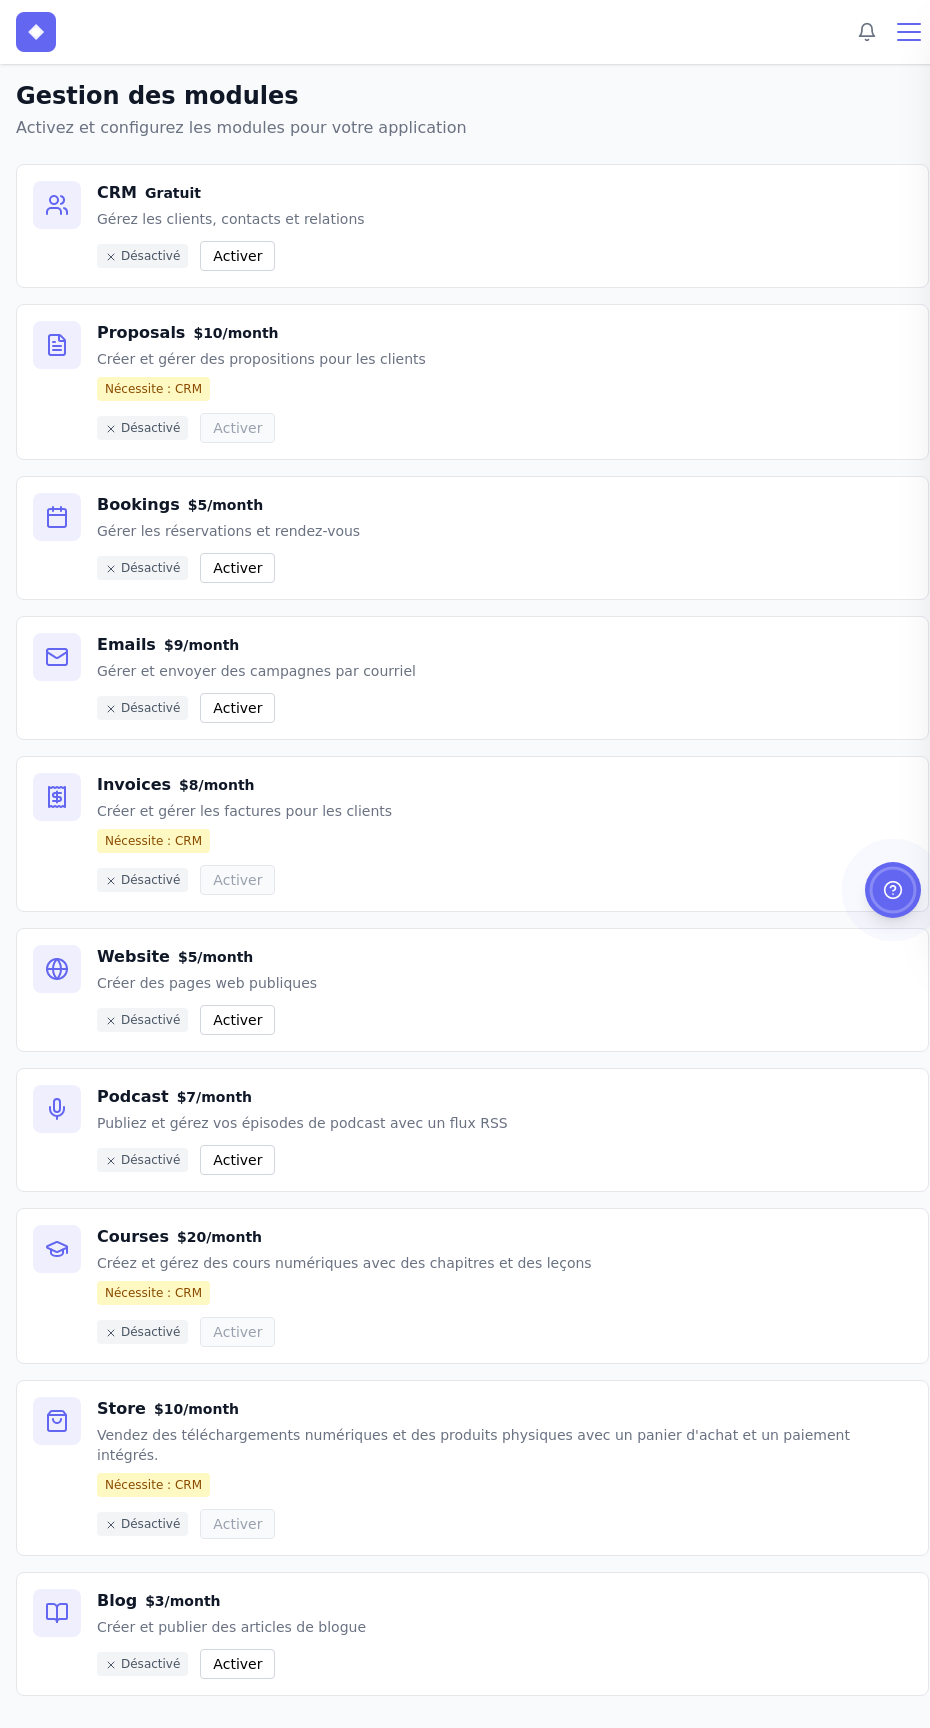
Depending on your goals, activate the modules that fit you:
- Want a website? Activate the Website module.
- Want to send proposals? Activate the Proposals module – but note it depends on the CRM module, you will need a contact to create a proposal. Parle will warn you if a dependency is missing.
Activating a module requires two small decisions: the label you want to give it in your app menu, and whether you want it to appear in that menu or not. That is all.
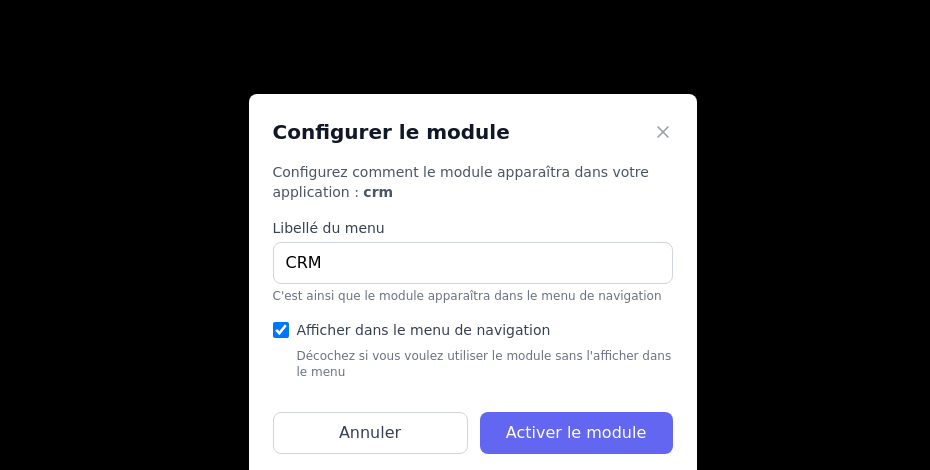
Once activated, the module appears in the navigation bar at the top right of your app.
For the rest of this guide, make sure to activate the CRM module. Open it by clicking its entry in the app menu.
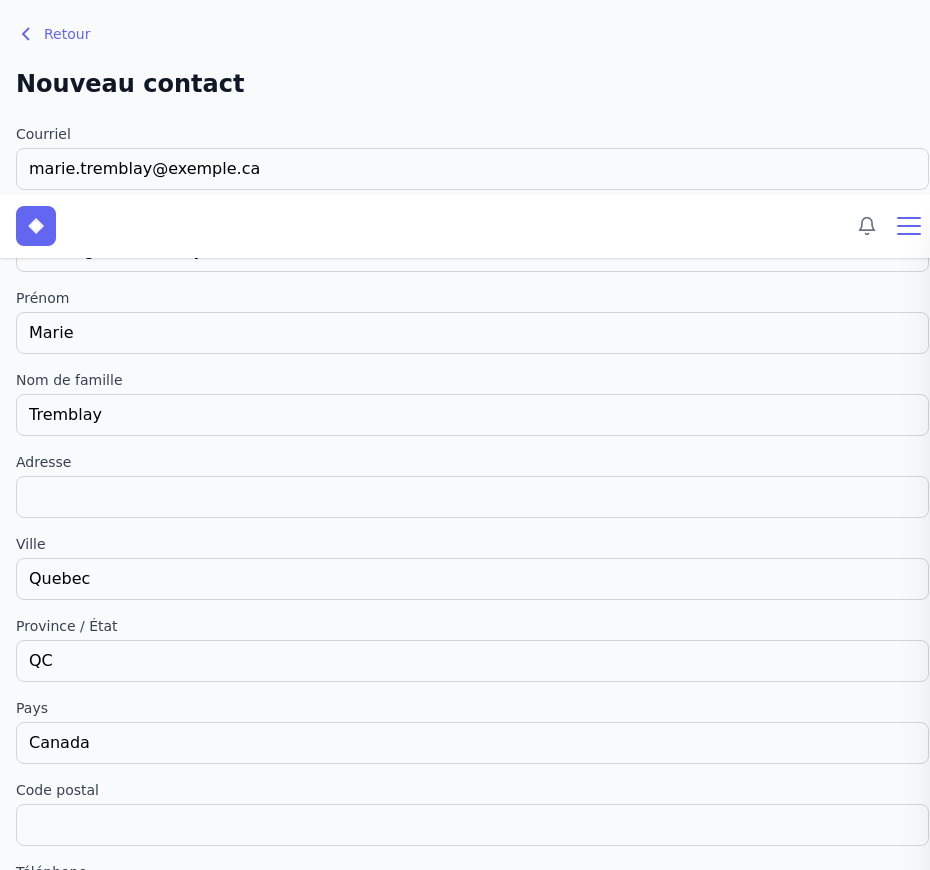
Your contact list is empty – that is normal. Parle will prompt you to create your first contact. Go ahead and use your own information. Click Save.
Back in the list, you will notice the interface: a clean list with essential information, and a toolbar to the right of the module title. All modules follow this same pattern. The + button creates the module’s primary entity (a contact here), and the filter button lets you create custom queries to quickly find what you are looking for.
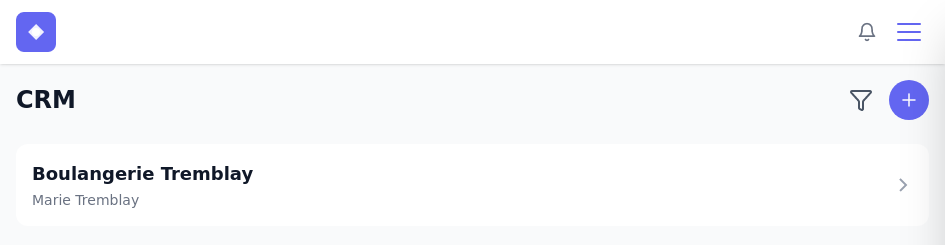
When you open a contact, you will see their full information along with a series of tabs: User, Notes, Follow-up, Proposals, Invoices, and Activity.
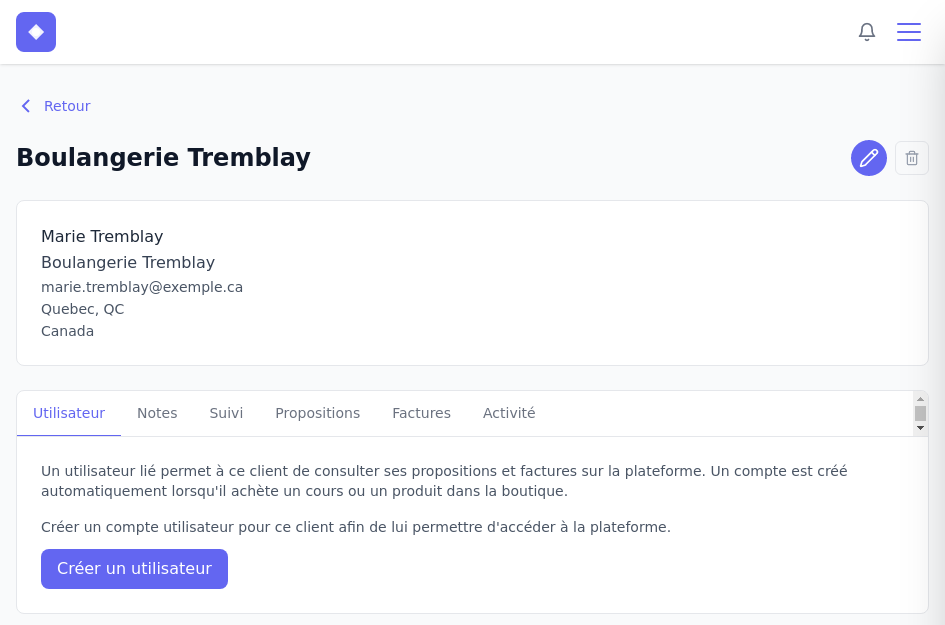
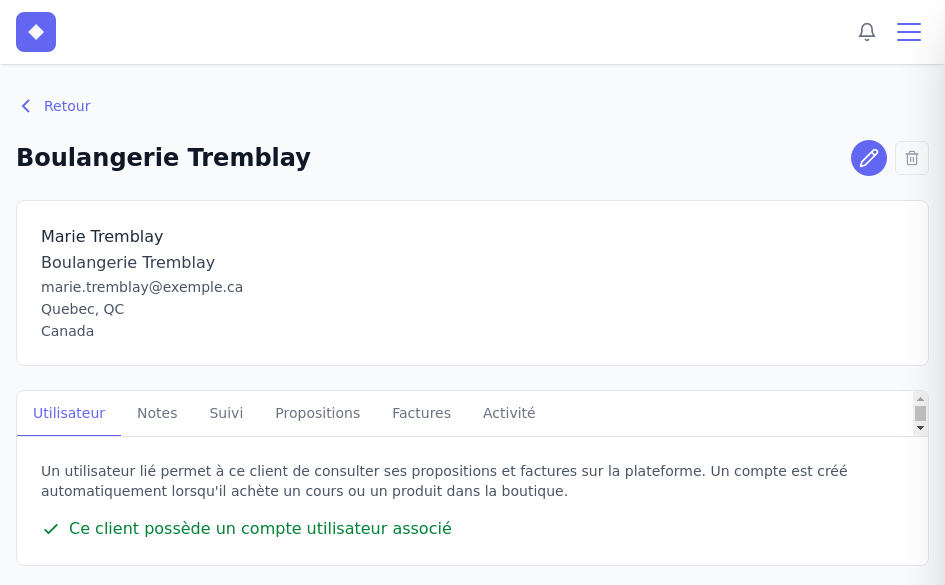
The first tab, User, lets you link this contact to an account on the platform. This is useful when your clients need access to their proposals, invoices, courses, or online orders.
Day 2: The document editor
Some modules – such as Proposals, Website, or Courses – produce documents. To keep a consistent experience throughout, Parle offers the same document editor in all these modules.
Open the Proposals module. You will notice the toolbar to the right of the title: a filter button, a Library button (we will come back to that tomorrow), and a + button to create a new proposal.
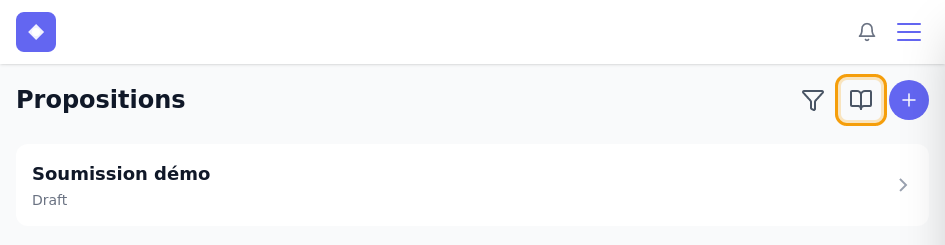
Click on an existing proposal to open its detail page. You will find the proposal information there, along with a button to access the document editor.
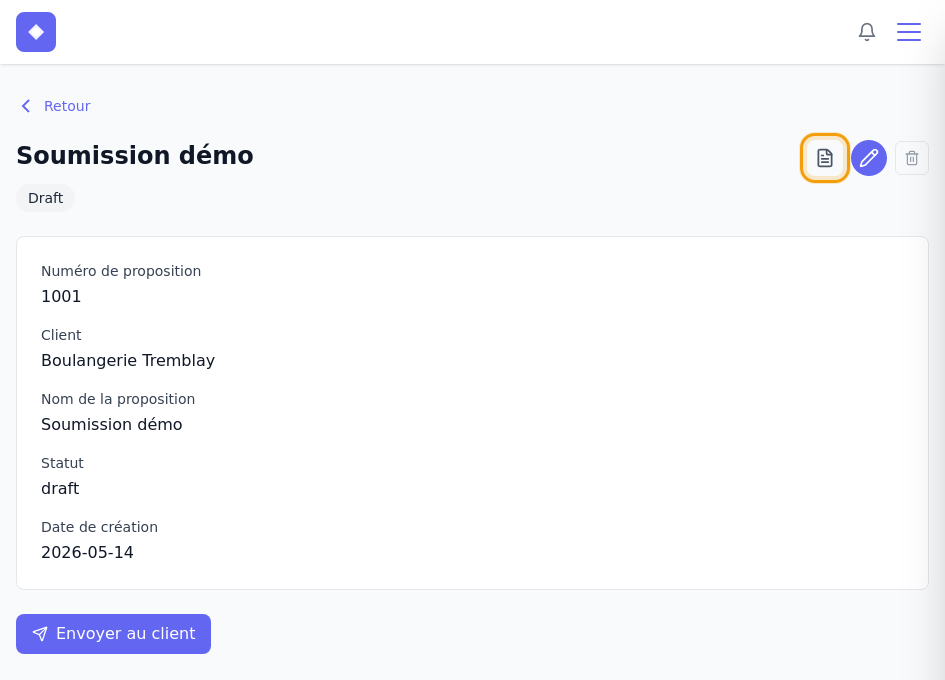
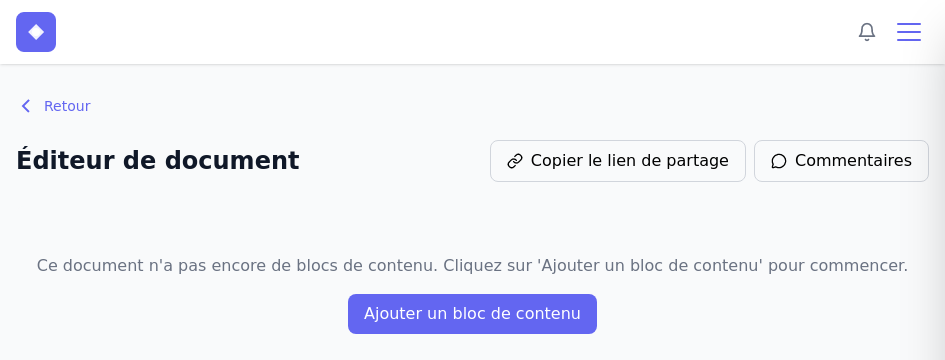
Click the editor icon to open the document. If the document is empty, Parle invites you to add a first block. Click Add a content block.
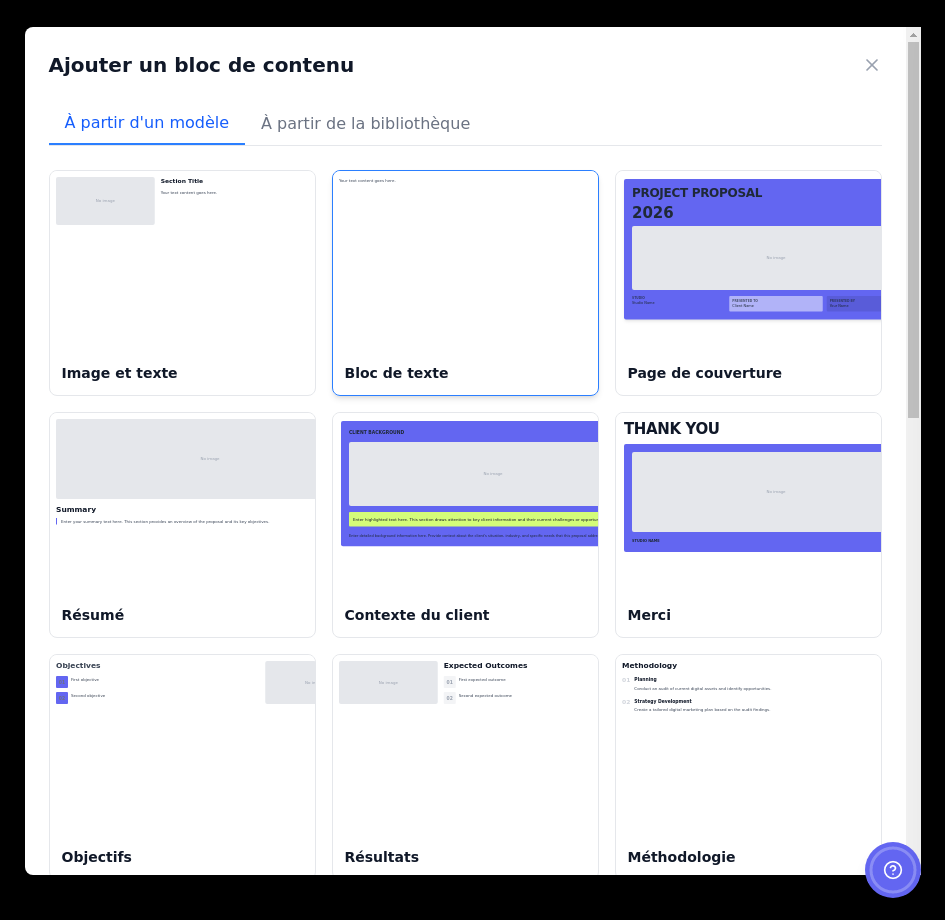
A panel opens with two tabs: From a template and From the library. The built-in templates cover all the needs of a professional proposal: cover page, summary, budget, timeline, terms and conditions, and much more.
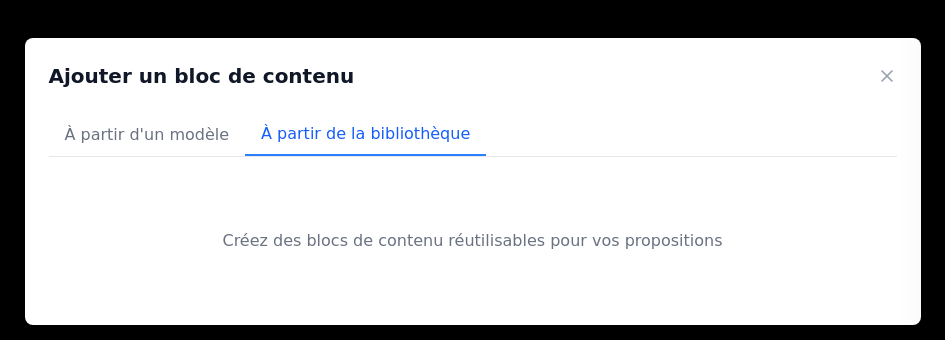
The Library tab lets you reuse blocks you have saved yourself – we will see how to create them tomorrow.
Select the Cover Page template. The block appears immediately in your document.
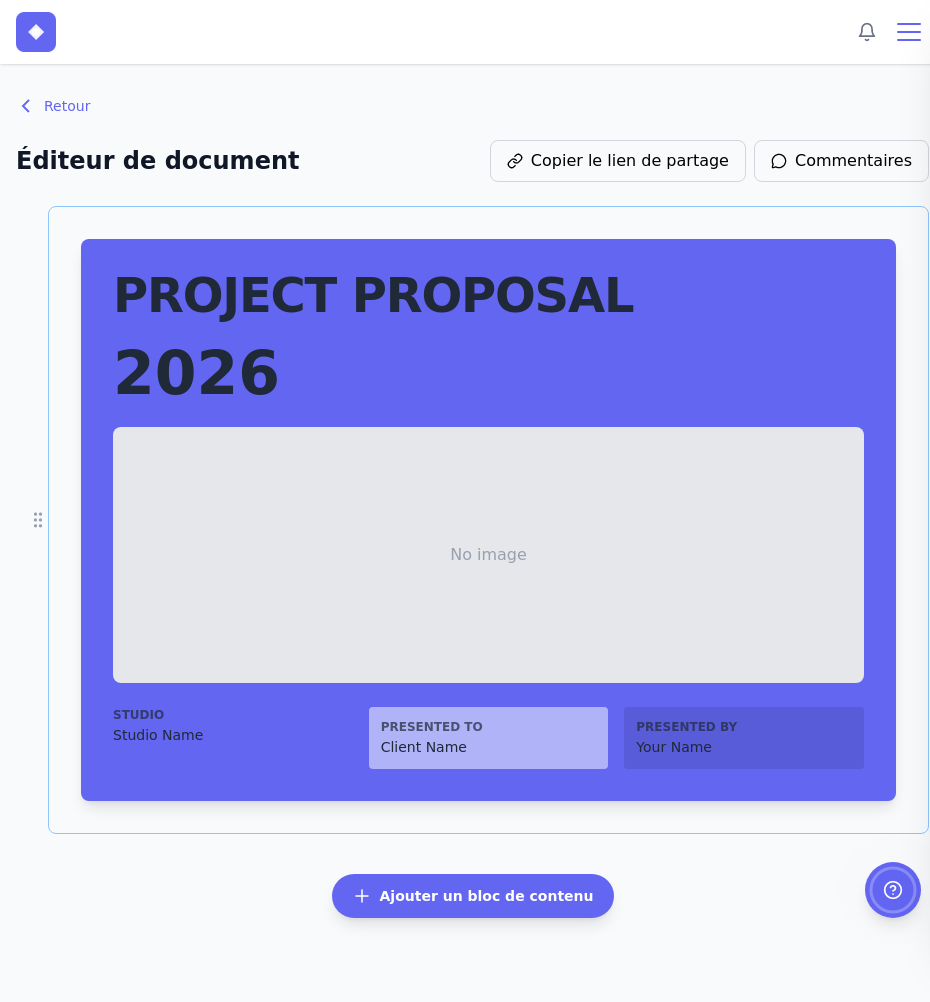
Click on the block to edit it. Editing is entirely inline: text fields appear directly in the block, you can modify the title, year, background colours, image, and presentation information without leaving the document view. Each block exposes its own options depending on its type.
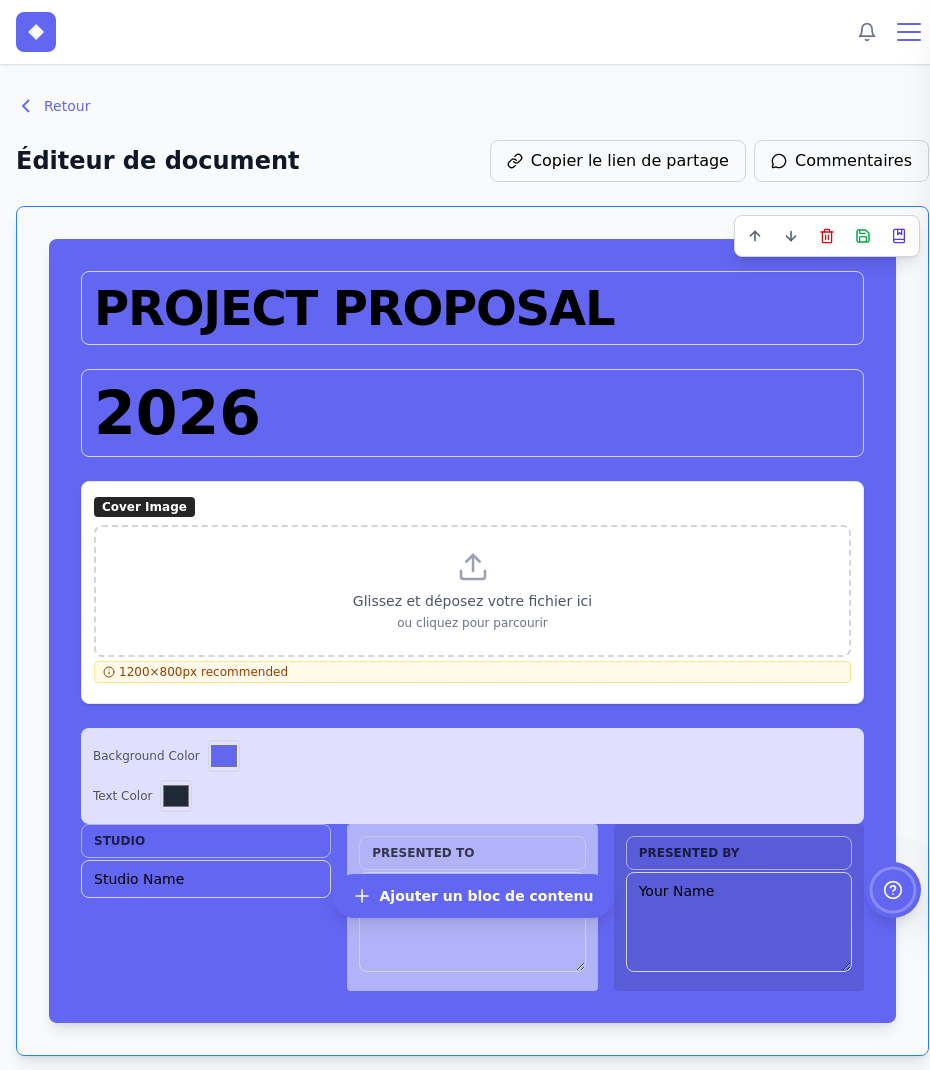
This is how document creation works across all modules – same experience, different blocks depending on the context.
Day 3: The content library
To save time, Parle offers a content library where you can save ready-to-use blocks. Think of an introduction block for your proposals, a services section with pricing, or a footer you reuse often.
You create and customize a library block exactly the same way as a block in a document. Once you are happy with the result, click Save to library in the block toolbar. That block will then be available in the From the library tab of any document.
The most powerful feature here is merge tags. In any text field of a block, type {{ and Parle will show you the list of available fields – those of the current module (here, the proposal) as well as those of the linked CRM contact.
For example, in an introduction block saved in your library, you can include the client’s first name ({{crm-field-first-name}}), their company, or their address. When you add this block to a new proposal, these values are automatically injected from the linked CRM contact. This feature is available everywhere in the document editor.
Day 4: Module settings
Each module creates a primary entity – the CRM creates contacts, the Website creates pages, Courses create lessons. But often, you need more than that. A course needs to be grouped in a training program, and needs chapters. A website needs a menu and footer links.
This is where module settings come in. They let you configure the module’s behaviour and create the supporting entities it needs.
Access settings via the gear icon in the module toolbar, or via the settings button available on the module management page.
Take a few minutes to explore the settings of the modules you have activated so far. Many things will start to make sense.
Day 5: Tags, a central tool
Tags on your CRM contacts play a crucial role in segmentation and automation.
Go to the Tags section accessible from the main menu. The page explains right away why tags matter: segmenting your contacts, triggering email sequences, automatically tagging course or product buyers, and serving as conditions in your automations.
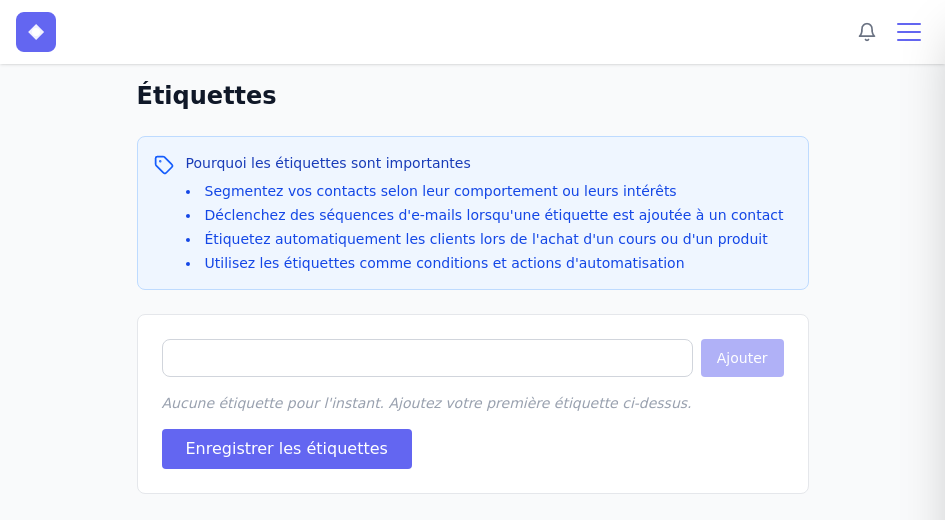
Create your first tags by typing them in the field and pressing Enter – one at a time. They accumulate below the field. Click Save Tags when you are done. Useful tags to start with: active-client, prospect, newsletter, vip.
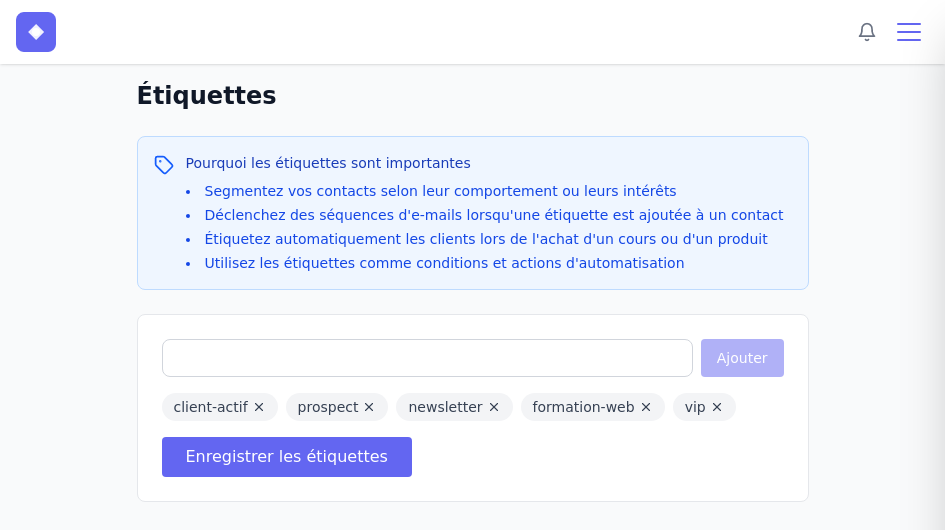
These tags are then available via autocomplete in the Tags field of the CRM contact edit form – start typing and Parle suggests matches.
The Emails module lets you create sending sequences: a series of emails with a customizable delay between each one. How does a contact subscribe to a sequence? When a tag is added to their profile.
Parle offers a simple automation engine: you react to events like TagAdded, select the relevant tag, and configure an action, for example Add to an email sequence. It is that simple.
Several modules add tags automatically. The Courses module, for example, asks for a global tag for students and a tag per training program. When a student purchases one of your courses, they automatically receive both tags, which can trigger an automation if you have one set up.
Day 6: Custom fields
The base modules are intentionally simple. If you need more fields for your CRM contacts, lessons, or pages, this is where custom fields come in.
You can create as many fields as you want and attach them to the primary entity of a module. These fields behave exactly like native fields: they are available in your document merge tags, in your automations, and in your filters.
Most modules support custom fields. This is a feature that other platforms reserve for their premium plans – at Parle, it is included, because we believe you should be able to shape your data the way you need it.
Day 7: Take a break
You have done great work this week. Now is the time to step back and look at your dashboard.
If you have products or training programs to sell, the Courses and Store modules are excellent next steps. And if you have any questions or are stuck on anything, do not hesitate to write to us via the ticket system – we are here.