The Course settings page brings together the module’s administration tools. To open it, go to Courses, then click the gear icon in the upper-right corner.
General configuration
The Global enrolment tag is added to the CRM contact of anyone enrolled in one of your courses. Use a simple tag, such as course-student.
A course can also have its own tag. When someone enrols, you can identify them as a student and see the specific course they are taking. These tags can then be used in CRM filters, email sequences, and automations.
Manage each course
Below the general settings, the Courses list shows all your courses and their management tools.
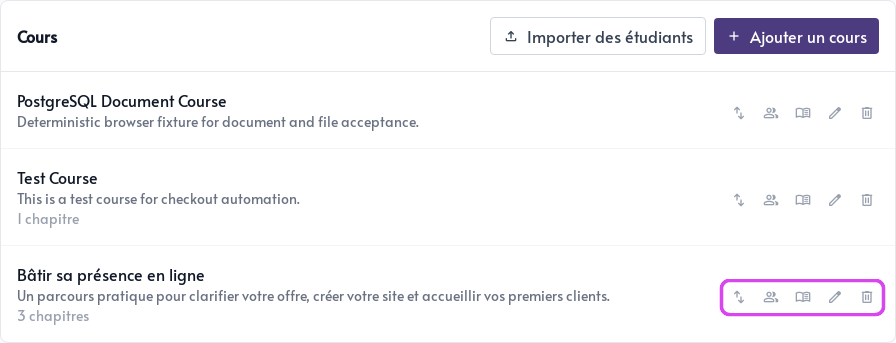
The five icons to the right of each course serve, from left to right, to:
- Reorder lessons
- View students and their progress
- Manage chapters
- Edit the course, offers, and cohorts
- Delete the course
Deletion is permanent. Before confirming, make sure you selected the correct course and no longer need its content.
Manage chapters
Click the book icon to open Manage chapters.
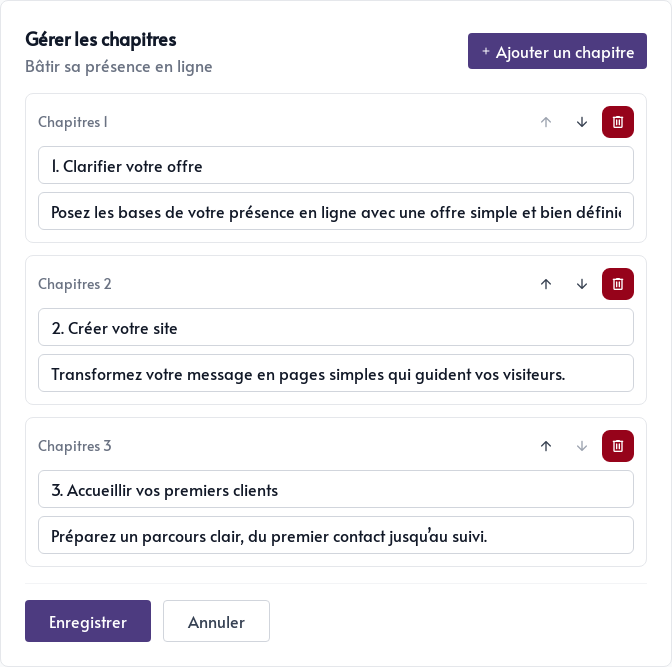
In this view you can:
- add a chapter;
- Edit its title and description directly
- Use the arrows to move it up or down
- Delete a chapter
Click Save after making your changes. The order set here is the order students will see.
Reorder lessons
Click on the ranking icon, then choose a chapter. The lessons in this chapter appear in their current order.
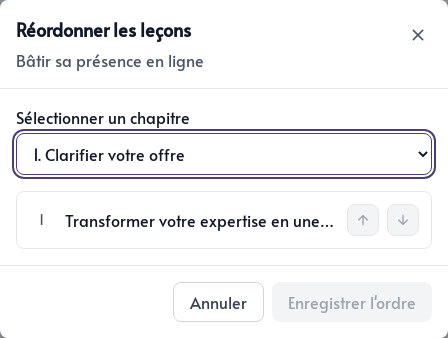
Use the arrows to move each lesson, then click Save order. This view is useful after adding several lessons and reviewing the course before opening it to students.
Import multiple students
The Import students button lets you enrol several people at once using a CSV file. The file must begin with these columns:
email,course
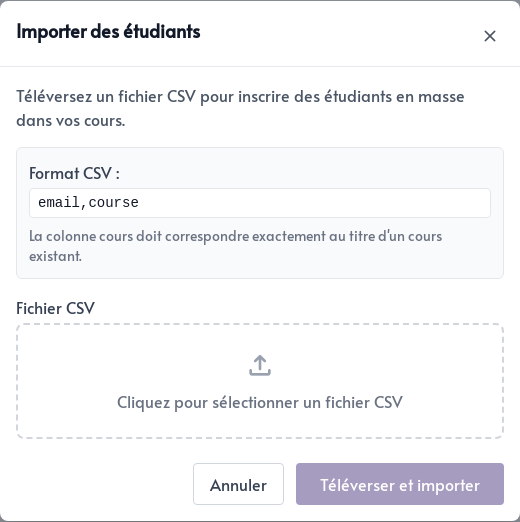
On each following line, enter the student’s email address and course title. The value under course must exactly match the title of an existing course in Parle.
After upload, the import runs in the background. Parle sends you an email when it is complete.