Before processing payments, you must create and connect a complete Stripe account. This account belongs entirely to you. Parle does not take a percentage of your sales in addition to Stripe’s fees.
Once connected, the account can receive payments through the Store, Courses, Bookings, Invoicing, and Community modules.
Important: payments will not work until your Stripe account is fully created and verified. If you test the store’s shopping cart before completing the Stripe setup, for example, Parle will display an error while processing the order.
Open Settings
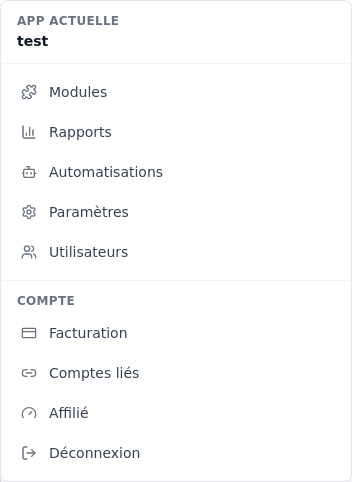
In your application, open the menu in the upper-left corner. It contains important links such as Modules, Automation, and Settings.
Click Settings.
Open the Payments tab
The Settings page contains several options for your application. Open the Payments tab to connect Stripe and configure how Parle handles payments.
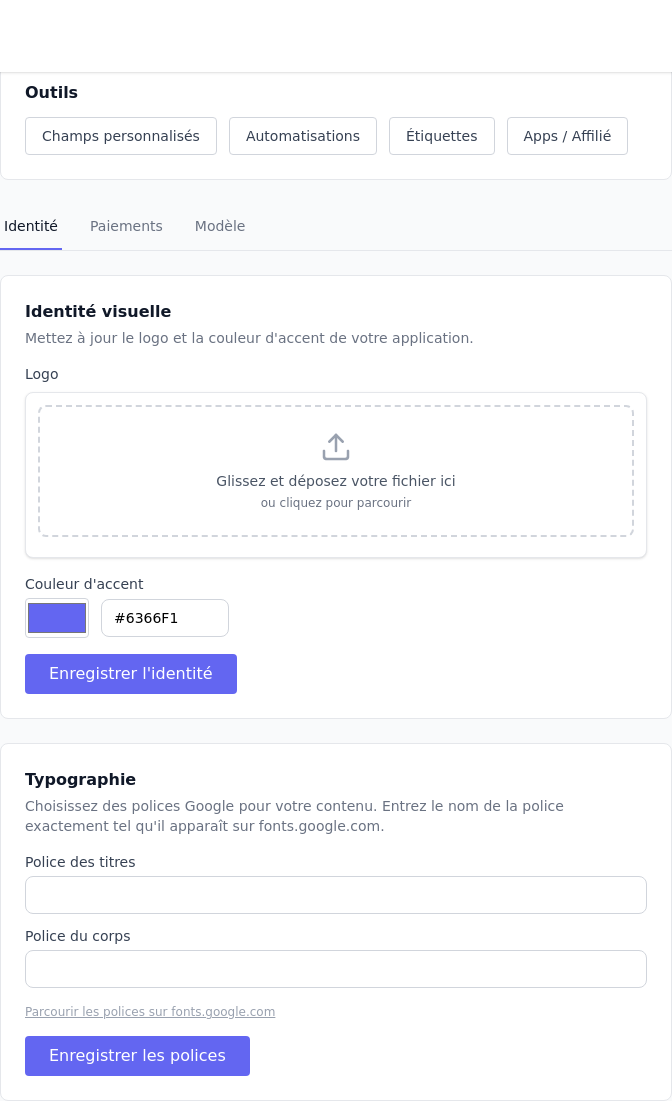
Configure Stripe, currency, and taxes
Review the following items in the Payments tab before you begin selling:
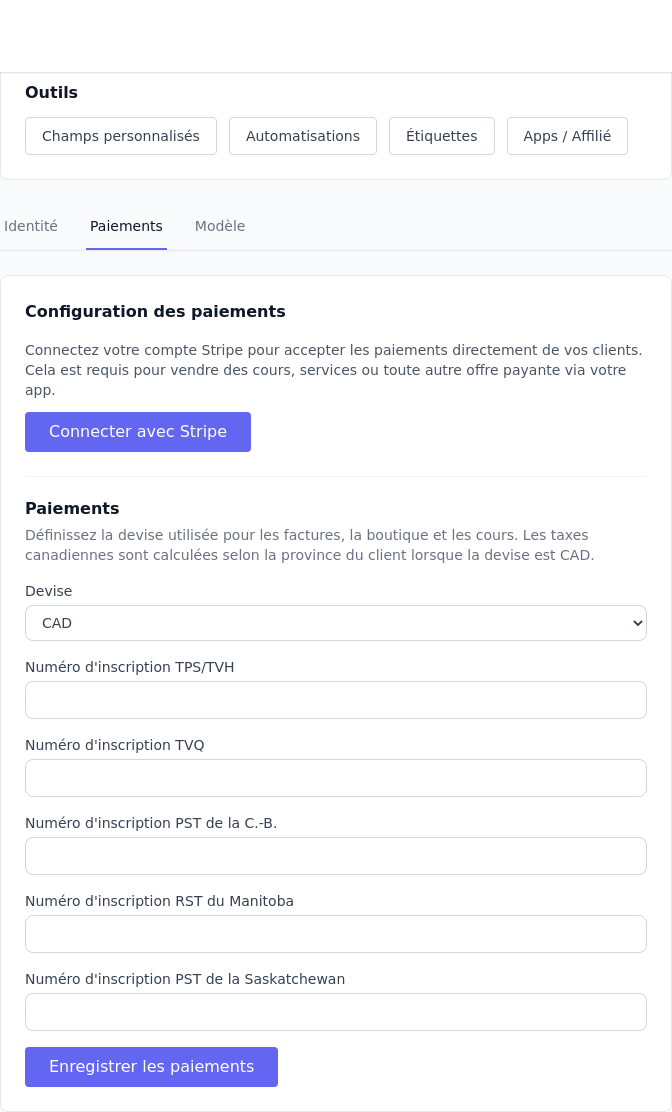
Click Connect with Stripe to create or connect your Stripe account. Stripe will request the required personal or business information, bank details for deposits, and identity verification.
The currency is used for your invoices, store, and courses. Canadian businesses will generally choose CAD.
The tax fields tell Parle which taxes you must collect. A Quebec business registered for GST and QST, for example, can enter its GST/HST and QST numbers. Once configured, Parle can apply Canadian taxes based on the client’s province.
After selecting your currency and entering the relevant tax numbers, click Save payments.
After connecting Stripe
Creating a Stripe account is generally straightforward. Confirm your information, add your bank account, and complete the verification requested by Stripe.
When Stripe confirms the connection, Parle displays the account as connected. You can then receive payments through every module that supports transactions.